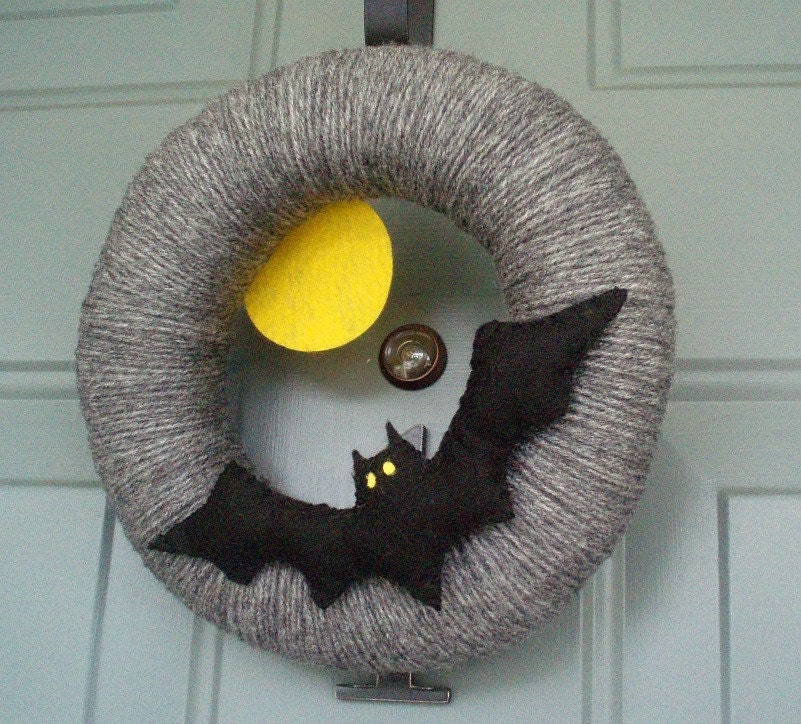
Showing posts with label wreath. Show all posts

Friday, October 12, 2012

DIY: Burlap Bubble Wreath

Like just about every other blogger out there, I've been looking forward to fall since about the first day of winter last year.  I love everything about fall.  I love the colors and the smells and the clothes and the flavors and the weather.    While some people put out their pumpkins and scarecrows on September 1, I just couldn't bring myself to do it.  It's October now and it's still summer-hot.  But since it's October now, I decided that I should probably get moving on my fall wreath.  And nothing says fall quite like a big, fluffy wreath made of burlap!


Burlap Bubble Wreath

What You'll Need


Burlap.  I had some leftover burlap at home, but I figured there wouldn't be enough, so I picked up more. But I didn't learn until I was 1/4 of my way around the wreath that the two burlaps didn't match.  So learn from my mistake. 
12 inch foam wreath form
Good, sharp scissors
Corsage pins
Felt or flowers
Buttons
Hot glue gun

What You'll Do

1.  Wrap your wreath form in burlap and hold the ends in place with corsage pins.  It doesn't have to be perfect because it's going to be covered up, but it's nice that you won't have to worry about green peeking out the sides.  The front will look like this:


And the back will look like this:


Like I said, not perfect. 

2.  Cut your burlap into 4x4 inch squares.  But you know what?  No one is going to come along and inspect it, so if you cut a little crooked or your square is 5 inches instead of 4, it's totally okay.  Really.  I'd recommend making a few at a time so that you don't waste any of your burlap.

3.  Now it's time to make some puffs!  Fold the square in half to form a triangle.


Then pull the other two corners down with the ones that are already pinched together.


In that picture the 4th corner is still loose, so make sure you pull that one in too. 

4.  Using your corsage pins, attach the bubble to your wreath.


5.  Now keep going until you've covered that sucker!  Don't worry about which directions your puffs are going.  I used the multiple choice test formula.  You know when you took a multiple choice test and stumbled across that one question whose answer completely stumped you?  And you picked the letter that you hadn't chosen in a while?  Do that.  Pin down your puffs in whatever direction you haven't pinned them in a while.  Keep on keeping on,  making the front of your wreath as burlap-bubbly as you see fit. 


You can cut off any runaway threads as you see fit, but I decided to keep them. 

6.  Now it's time for some flowers!  I made mine using this tutorial.  And frankly, she explains it better than I can.  I made a fringed flower, a looped flower, and two rosettes.  


Instead of securing the felt flowers with an embroidery needle, I used hot glue. Not because I decided that was the smarter way to do it (I burned my fingers...several times), but because I didn't have an embroidery needle.  I put a button in the middle of my fringed flower.  Well, two buttons, actually.

If you don't want to make flowers, feel free to use artificial flowers.  Or heck, leave it blank if you're a minimalist!

7.  Lay the flowers on the wreath until you figure out how you like them best, then glue them down.  You can also attach a ribbon or twine or something along those lines so you can hang your wreath.  I just hooked mine on my wreath hook, but Paul suggested adding an orange ribbon, so I'll probably end up doing an orange grosgrain ribbon for hanging. 


Looking back, I probably should have used a brighter color for the fringe flower, since it's so big, but overall I really love the way my wreath turned out.

Do you have any crafting projects planned for this fall?


Wednesday, August 1, 2012

DIY: Striped Letter Wreath

The trophies that I made for work put me back in the crafting spirit.  I've been seeing letter wreaths for a while and finally decided that it was time to stop talking about how I should make one and actually get to work.  As always, I got ahead of myself and didn't take details at every step, but 3/4 isn't too bad, right?

Striped Letter Wreath
What You'll Need
1 Wooden Letter
2 colors acrylic paint (I used Martha Stewart)*
Painters tape
Artificial flowers or felt flowers (or both!)
Burlap
Epoxy or hot glue**
What You'll Do
1.  Using the lighter of your two colors, paint both sides and the edges of your letter.  I did two coats.

(Yes, I used the latest issue of crime times as an impromptu drop cloth.  It really classes up this tutorial, huh?)

2.  When your base color is dry, use painters tape to mark off diagonal lines.  As with most everything I craft, I eyeballed the lines and it turne out fine. 


3.  Using the darker of your two colors, pain over the tape an the exposed part of the letter.  I kept the pain to the front, not wrapping to the edges. 

4.  As soon as you have all the coats you want (again, I did two), remove tape immediately. I think it's easier than waiting until the paint dries.

5.  Cut the burlap to whatever length you want it.  Using epoxy or hot glue, attach the burlap to the back of the letter.  I put one end on each side of the Y.  You don't have to worry too much about how neat it looks.  It is burlap, after all.
6.  Flip your letter back over and use your epoxy or hot glue to attach your flower wherever is most appealing to you.   
7.  Let everything dry/set over night and then hang!


Full disclosure, this is actually the second one I made. The first one I made what the same green, but it had light blue stripes and a yellow flower.  Paul thought it was a little too girly so I took that one to work to brighten up my cubicle and made this slightly manlier version for the front door. 

*The green is Martha Stewart an the blue is...not.  I'm not sure what brand it is.  But I didn't like it.  With the first Y I did I used all Martha Stewart an it was lovely.  This blue paint was pretty thin and kept sneaking its way under the painters tape. I'll be using Martha Stewart paint for crafting from here on out.

**If your letter will hang indoors or outdoors, but out of the sun, feel free to use hot glue.  If you're going to be hanging your letter in direct sunlight, go for epoxy.  That's actually my rule of thumb for all wreaths.  I've had two wreaths that hung by a ribbon secured with hot glue that I found on the ground when I got home from work because they were in direct sunlight all day.  Ever since I started using epoxy it's been smooth sailing!

Friday, September 16, 2011

DIY Wreath Form

The most expensive part of making my argyle wreath that I previously wrote about was the wreath form.  It was a round piece of styrofoam that looked like this:

Thanks to a very lucky yarn sale at the craft store, I paid less for both my yarn and felt than I did for this stupid wreath form that set me back about $6.  I know, I know, $6 isn't THAT expensive, but why would I spend that when I can spend less than a dollar?  Exactly, I wouldn't!

I found this tutorial on making your own wreath form for less than a dollar from Amanda at The Penny Parlor, by way of Pinterest, and can't wait to try it. 

Please note that I haven't personally tried this tip, but I plan to when I make the Halloween yarn wreath in my yarn wreath post. 

First, go to the plumbing department of Home Depot or Lowes and get a 6 foot piece of foam tubing.  It's less than a dollar!  Next, cut the tubing to the length you want, form it into a ring and then use duct tape to secure it. 


I'll definitely update you to let you know how my own DIY wreath form and Halloween wreath go as soon as I'm done with it.

Also, check out what Amanda did with this wreath form and some coffee filters. 


Wow!  I'm not worthy!

Do you have any favorite money-saving crafting tips?

Friday, September 9, 2011

DIY: Argyle Yarn Wreath

I have a new obsession, folks.

Wreaths. To be specific, yarn wreaths.
They're inexpensive, not too hard to make and completely precious! Just look at some of my favorites from Pinterest!


I have definite plans to make the American flag, candy cane and Halloween wreaths and I already tried my hand at the argyle wreath (because you know I love me some argyle) a couple weeks ago. Take a look.


I'd say the hardest parts of the project were picking out my color scheme and cutting out the diamonds. I learned that night that I am AWFUL at drawing and subsequently cutting out both diamonds and triangles. I'm also awful at taking tutorial pictures. But here's what I did...

Argyle Yarn Wreath Tutorial

What you will need:
Yarn

Felt to make diamonds

Foam wreath form (or plumbing tubing formed into a circle and duct taped in place)

Cardstock (for making diamond stencil)

Push pins

Glue (hot, super, tacky, fabric...choose your weapon)

Ribbon

What You'll do
1. Choose your color scheme. I chose charcoal gray, heather gray and that bright, sunny yellow. Happily, I have leftovers I can use on the Halloween wreath.

2. Tie one end of the yarn around the wreath and secure with a knot, then wrap the entire thing until it's all covered without any holes. I took my time so that I wouldn't have to do second layer. Tie a knot at the end.

3. Cut out your diamonds. Like I said before, I'm awful at drawing and cutting. So I folded a piece of cardstock in half and drew a small triangle. Then I cut it out, unfolded it, and had a diamond. I used that triangle to trace the rest of my diamonds, half yellow and half gray.

4. Pin your diamonds to the wreath where you want them. This helps to prevent them from going all over the place.
5. Wrap your yarn around the wreath once more to create the criss-cross pattern. Do one diagonal first and then the other.

6. When everything looks the way you want, remove the pins and use glue to permanently secure the diamonds.

7. Loop a ribbon around the top so you'll have something to hang it by. I still haven't done this to mine but plan to...someday...
Sources: