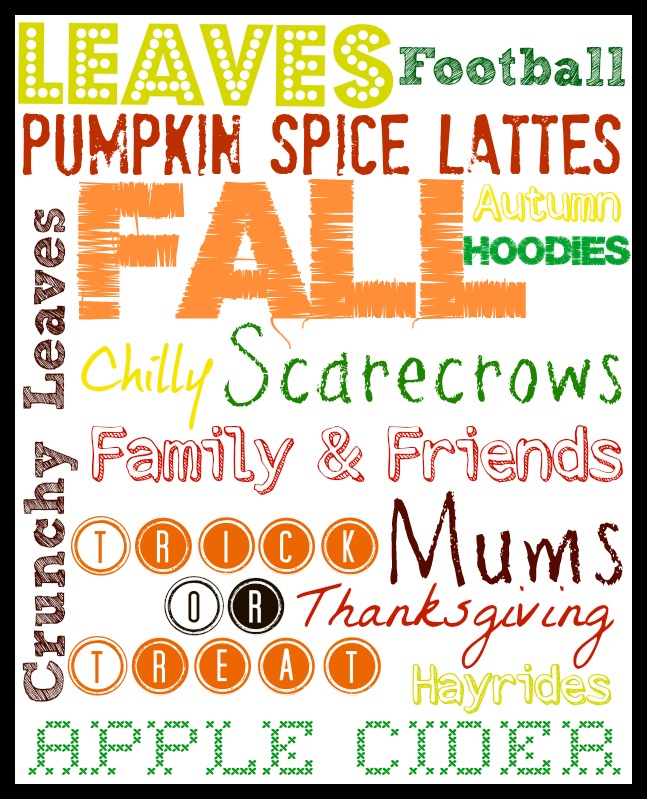

I'm kind of in love with them. I'm going to print them at Walmart and, to make things even cheaper, I plan to buy one frame and switch out the print according to the season.
DIY Subway Art
What You'll Need
A computer
An internet connection
What You'll Do
1. Go to Pic Monkey.
2. Click on Create a Collage on the lefthand side of the screen.

3. Click Save. That's right, just save the blank document somewhere accessible. I save to the desktop because that's easiest for me.

4. Go back to the main page and click on Edit a Photo

5. You're going to choose the file that you just saved and open it.
6. Click on Crop and then choose the size you're going to want to print from the drop down menu. I chose 8x10.

7. Now it's time to add text! Click on the P on the left side of the screen.

8A. Click Add Text on the Left.
8B. Type Text in the box.
8C. Choose your font.
8D. Edit the color, size, and spacing.

9. I started with my most important word in the middle and then worked around it.

10. Now just add as many words as you want, wherever you want.
11. If you want your words to be vertical, click on the word and then hover the curser over the circle over the word. It will turn into a circle made of two arrows. Left click and rotate until the word is at the angle you want.

The possibilities are really endless for what you can create. I'm thinking Disney Princess, Pixar, baby, and book prints would all be wonderful.
Have you ever tackled a project that you previously thought you could never accomplish? What kind of theme print would be perfect for your home?
This is great, Trista! Thanks for sharing!
ReplyDeleteGreat Tutorial! I can't wait to try it!
ReplyDelete